
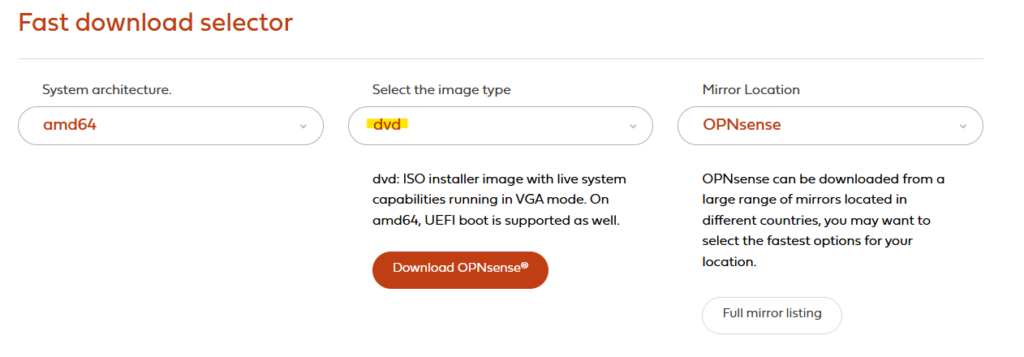
Download the DVD ISO image from the OPNsense website: Download – OPNsense (external Link)
choose the DVD type:
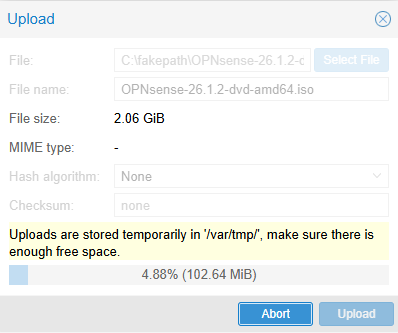
In Proxmox, upload the ISO to Datacenter → local → ISO Images
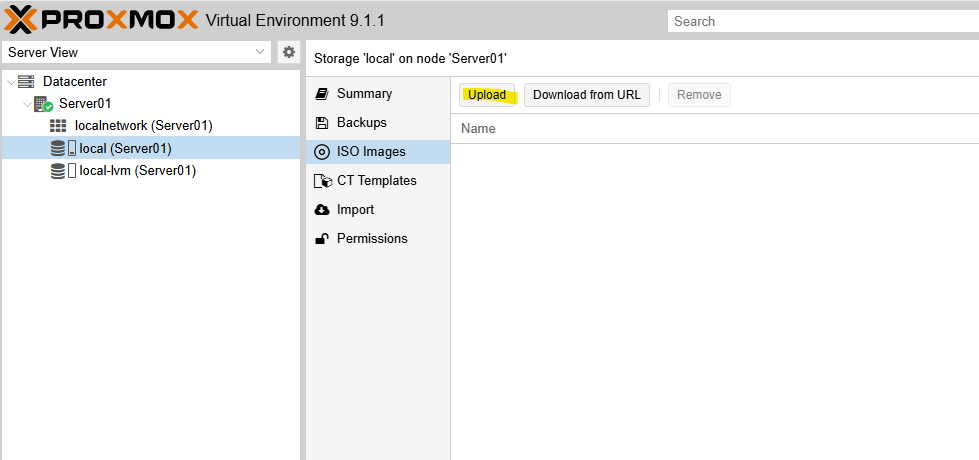
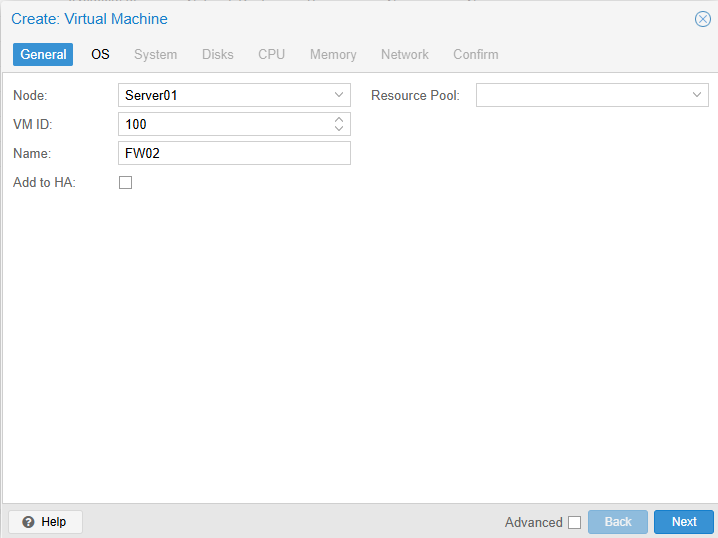
Once the upload is complete, we can create the VM. To do this, click ‚Create VM‘ in the top-right corner.

Add a name for example, vFW01 or FW02, …
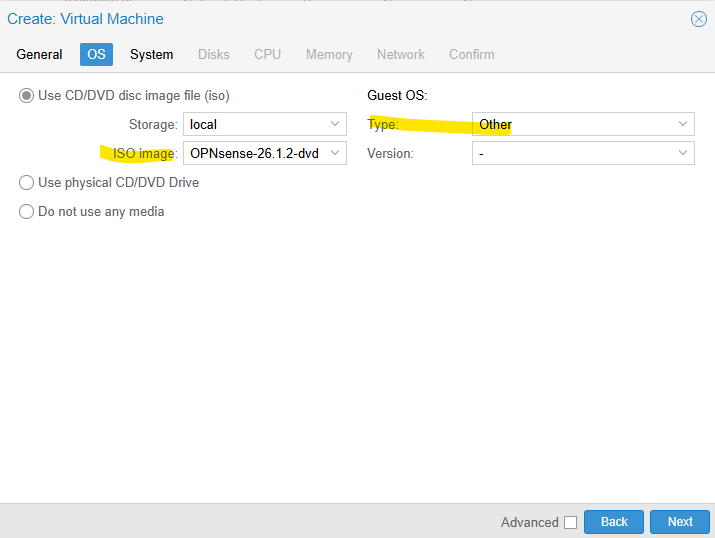
Select the OPNsense ISO image and set the Guest OS type to ‚Other‘, then click ‚Next‘
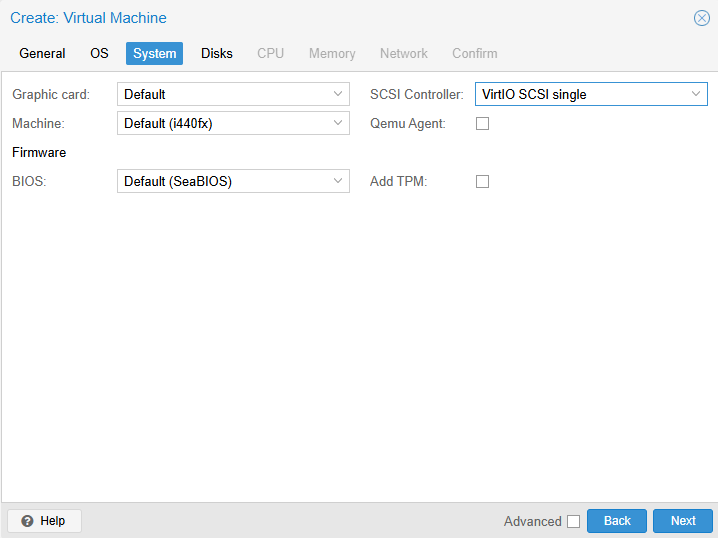
Next
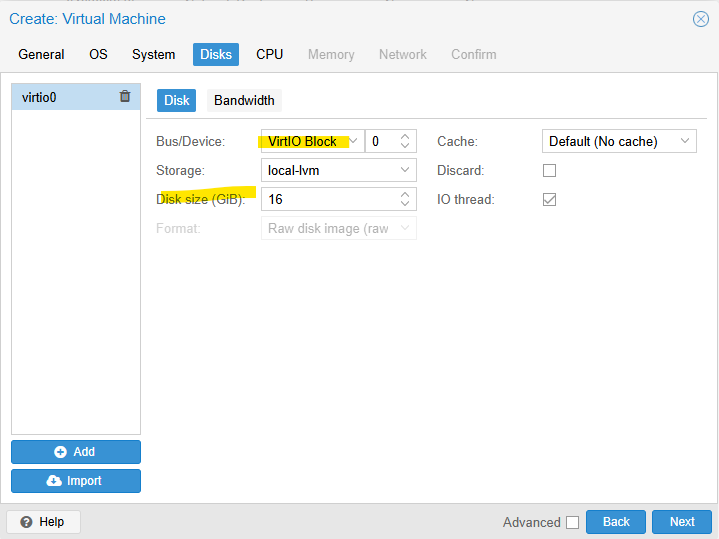
Set up your virtual disk as a VirtIO block with at least 8 GB.
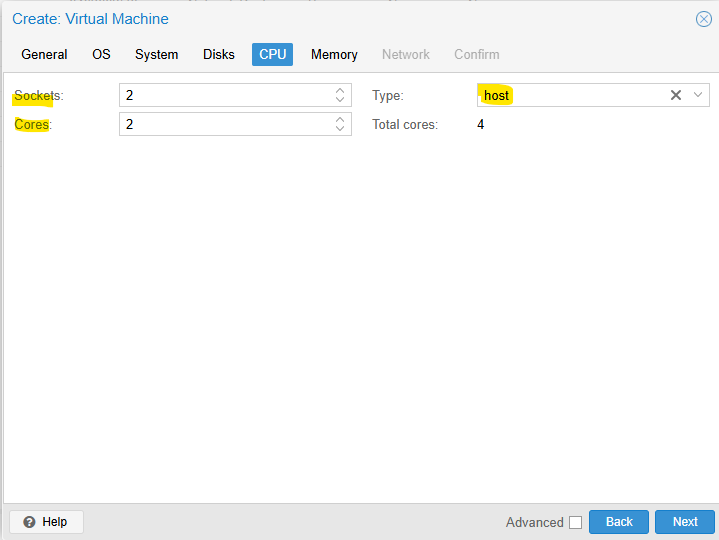
CPU config Type „host“
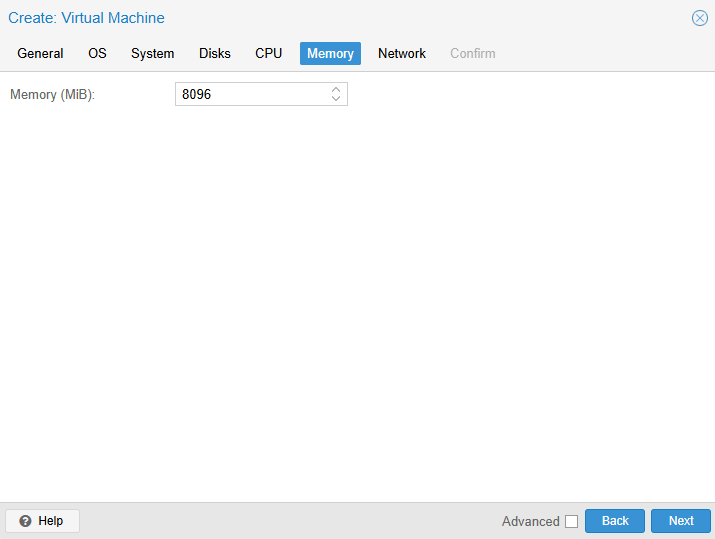
Set up your memory with at least 1024 MB.
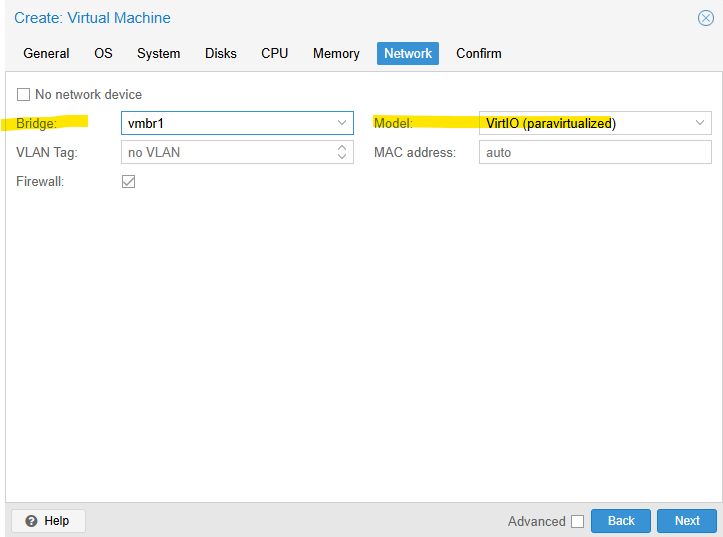
Now add LAN2 (NIC1) as your network interface for the WAN.
Confirm and finish, but do not start the VM yet
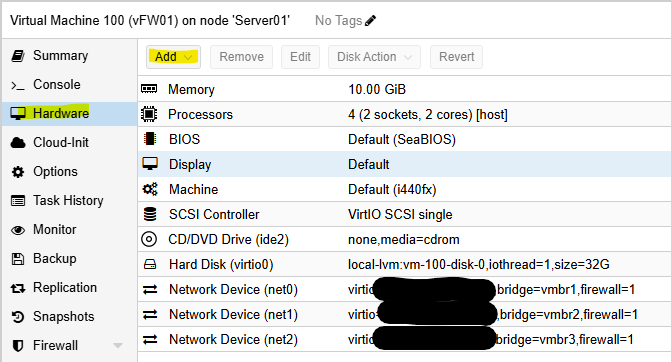
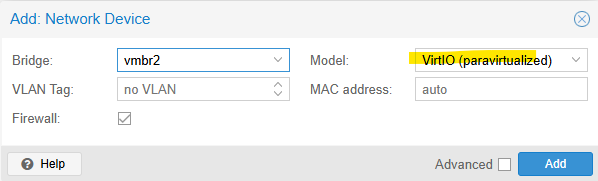
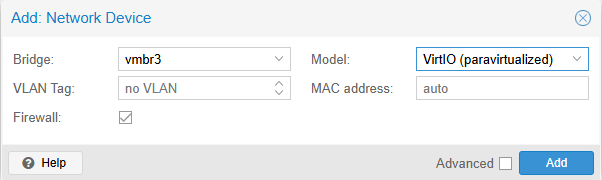
Return to the VM, navigate to Hardware → Add → Network Device, and add LAN3 (NIC2) for the LAN interface and optional the LAN4 (NIC3) for the DMZ interface
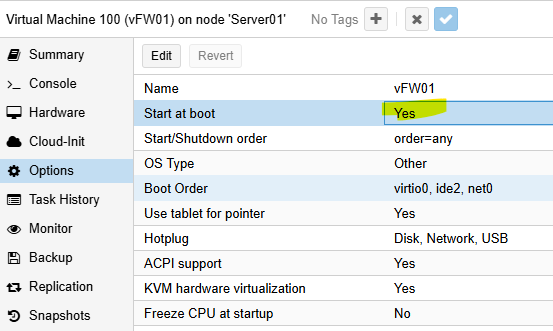
In the VM options, enable autostart
Now Start the VM and open the console
Next Step: OPNsense Installation